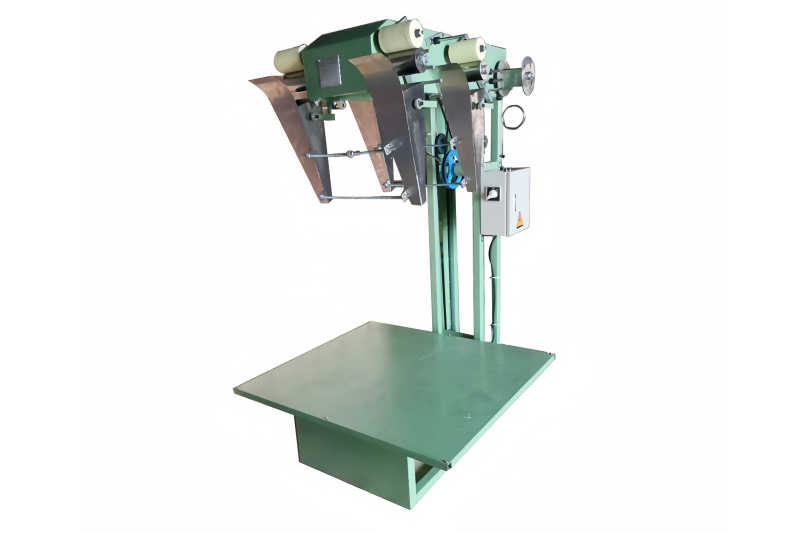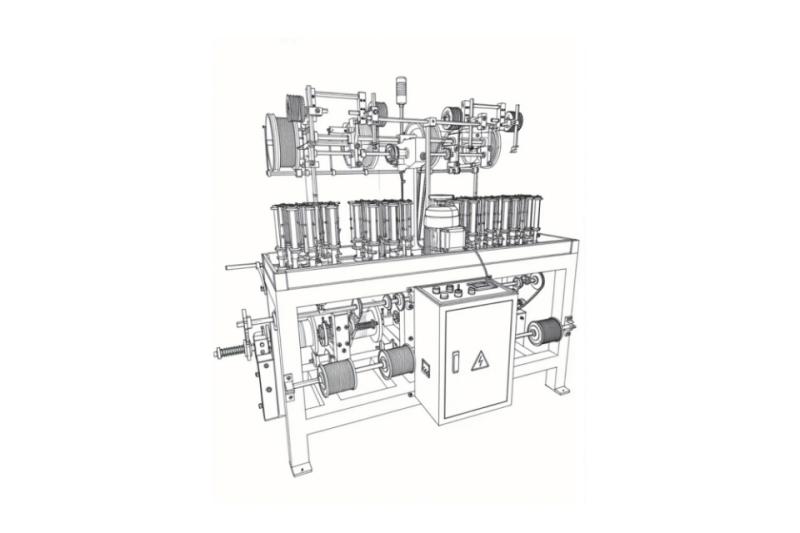

Over time, your tipping machine blades will need replacing. If you’re unsure how, just follow these step-by-step instructions.
1. Preparation:
- Disconnect Power and Separate Clutch: First, ensure the machine is powered off. Then, disengage the clutch. This prevents any accidental movement during the blade installation.
- Open Covers and Remove Molds: Open the front and back cover plates of the machine. Carefully remove the front and back cutting molds.
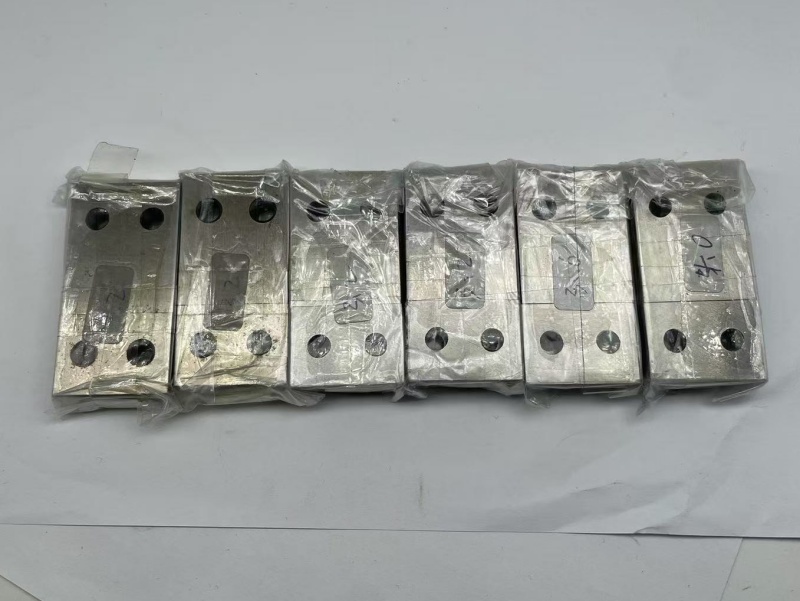
- Clean Blades: Take out the old blades and wipe them clean. This removes any debris or residue that might affect the new blades.
2. Blade Installation:
- Install Blades Carefully: Install the new blades one by one into the cutting molds.
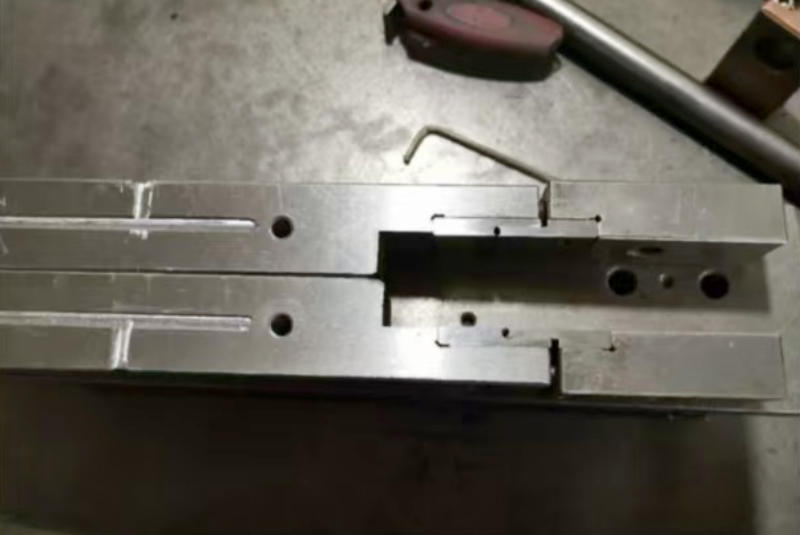
- Critical Alignment: Pay extra attention to the two blade edges that meet in the center to cut the cord. These edges must be perfectly level with each other. Any misalignment will result in uneven or poor cuts.
- Tighten Screws: Once the blades are correctly positioned, securely tighten the screws holding them in place.
- Adjust Blade Opening: Align the front and back blades to ensure the openings on both sides are equal in size. (Refer to the provided picture.)
3. Final Steps:
- Clean Machine: After installing the blades, wipe down the machine body to remove any dirt or oil.
- Reinstall Molds: Carefully place the cutting molds back into the machine.
- Close Covers: Close and secure the front and back cover plates.
- Lubricate: Apply lubricating oil to the necessary parts of the machine.
- Adjust Pressure Screws: Adjust the pressure screws on the cover plates. The goal is to set the pressure so that you can move the cutting molds by hand, but they are not too loose.
- Test Run: Turn on the machine and perform a test run to ensure the blades are cutting correctly.
If you still find blade installation challenging, feel free to reach out to us for an instructional video.