Key Considerations for Tipping Machine Operation:

Whether using a fully automatic or semi-automatic tipping machine, pay attention to three essential elements: acetone, film, and blades. Their quality and selection directly impact the tipping result and machine stability.
- Acetone Selection:
- Use high-purity acetone. Avoid acetone mixed with water, alcohol, or other solvents, as impurities can affect film solubility and adhesion, leading to poor tipping results and potential machine damage.
- Choose a reliable supplier to ensure consistent acetone quality.
- Film Selection:
- Choose high-quality cellulose acetate film, ensuring it’s free of recycled materials for strength and durability.
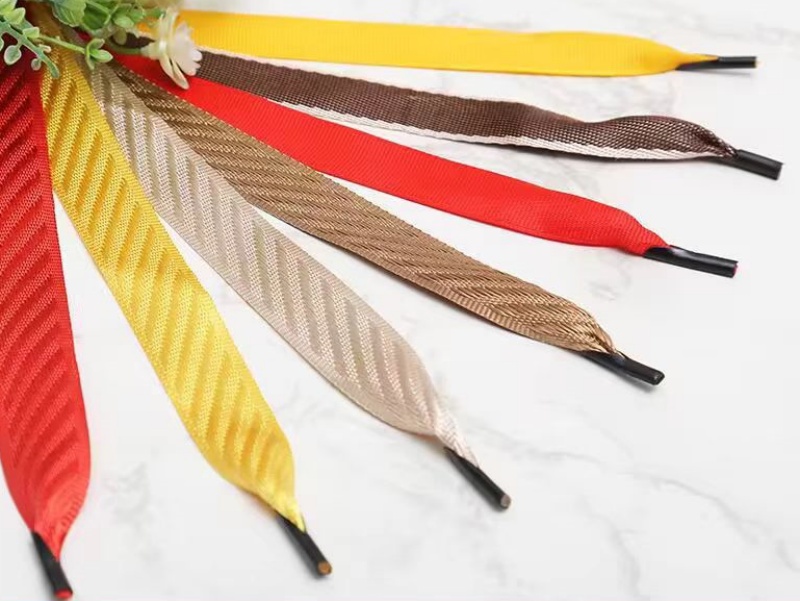
- Select the appropriate film color to match cord color and product requirements.
- Choose the correct film width and thickness based on cord thickness and desired tipping effect.
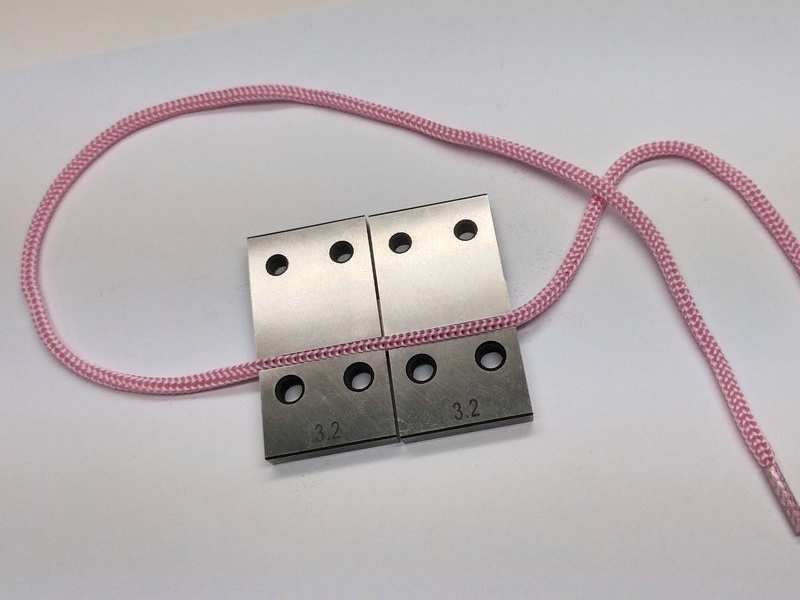
- Blade Specifications:
- Tipping machine blades come in various sizes, such as 1.9, 2.1, 2.3, 2.5, 2.8, 3.0, 3.2, 3.5, 3.7, 3.8, 4.0, 4.2, 4.5, 4.8, 5.0, and others. Custom sizes are available.
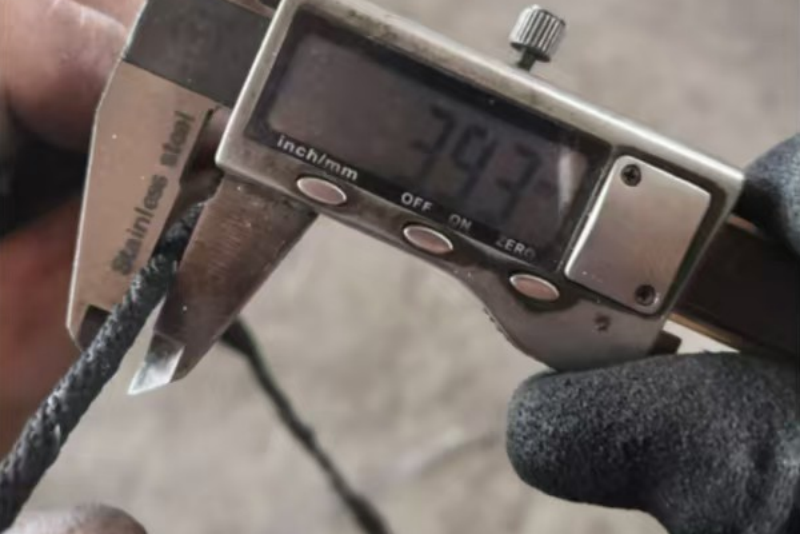
- Basic blade selection method:
- Twist the cord tightly with your hands.
- Measure the twisted cord’s diameter with calipers.
- Select a blade size that matches the cord diameter.
- The blade sharpness and material is also very important. Choose wear-resistant sharp blades. Replace the blades regularly to ensure clean cuts, without any frayed edges.
Tipping Machine Operation Steps:
Here’s a breakdown of how to operate a tipping machine:
- Power and Warm-Up:
- Turn on the power and the heating switch.
- Set the temperature to around 50 degrees Celsius (approximately 122 degrees Fahrenheit).
- Let the machine warm up for about 10 minutes.
- Start the motor briefly to check the rotation direction. It must rotate in the direction of the arrow; it should not reverse.
- Lubrication:
- Add oil according to the machine’s instructions.
- Lubricate all moving parts at least once per shift, except for the brake.
- Adding Acetone:
- If this is the first time adding acetone, you’ll need to purge air and any initial oil from the pump. (The pump may have some oil from the factory to prevent rust.)
- If the machine has been sitting for a long time, it is best to add oil into the pump to prevent rust.
- Here’s how to Cleaning the Acetone Pump:
- Prepare to Drain:
- First, unscrew the nozzle tube screw.
- Then, loosen the screw on the flexible hose connector.
- Allow the acetone to flow out.
- Purge and Tighten:
- While pressing the pump, tighten the hose connector screw.
- Continue pressing the pump several times until all the oil inside is drained out.
- Screw the nozzle tube screw back on.
- Press the pump until the acetone sprays out of the nozzle.
- Adjusting Acetone Flow:
- You can adjust the acetone flow as needed by adjusting the iron plate on the pump. (See the diagram).
- Key points in simple terms:
- Loosen the screws to let the acetone and oil drain.
- Press the pump to push out all the oil.
- Tighten the screws and test the spray.
- Adjust the iron plate to change how much acetone comes out.

Adjusting Acetone Flow and Spray Position:
- Flow Adjustment:
- Turning the adjustment to the left increases the flow.
- Turning the adjustment to the right decreases the flow.
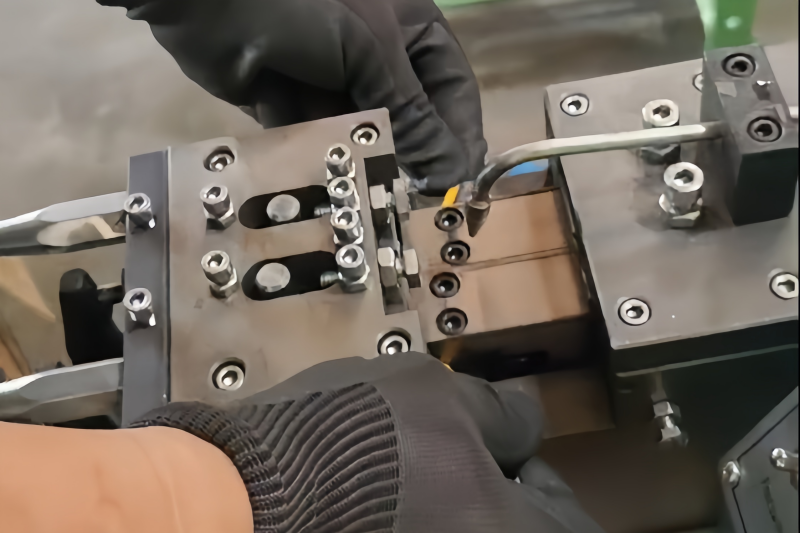
- Spray Position:
- The correct position for the acetone spray is between the cord and the triangular groove of the bottom cutting mold.
4. Adding Film and Adjusting Film Length:
- Film Loading:
- Use the correct film feed box for the film width (different widths require different boxes).
- Position the feed box with the metal plate facing the bottom cutting mold. Incorrect placement can cause feeding problems.
- The natural curve of the film clip should face you. Do not install it backwards, as this will result in improper tipping.
- Film Length Adjustment:
- The length of film fed depends on the cord thickness.
- Use this formula: Cord diameter * 3.14 + 2mm.
- For example, with a 3.2mm blade: 3.2 * 3.14 + 2 = approximately 12mm.
- Set the film feed to approximately 12mm. Refer to the picture for setting.

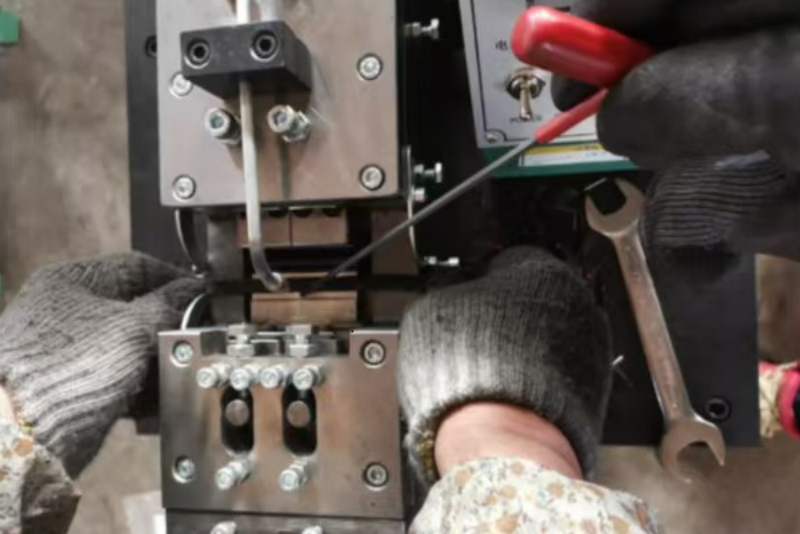
Adjustment Screw:
- Turning the screw indicated by the arrow upward shortens the film feed.
- Turning the screw downward lengthens the film feed.
5. Starting the Machine and Tipping:
- Start-Up:
- Press the start button to run the machine.
- Cord Placement and Length Adjustment:
- Adjust the cord length to the desired tipping point.
- Place the area to be tipped onto the bottom cutting mold (position the cord in the first 1/3 of the bottom cutting mold).
- Clutch Operation:
- Press down the clutch pedal fully.
- Hold it down briefly, and then release it.
- This completes one tipping cycle.
Daily Maintenance of Tipping Machines:
To ensure the long-term stable operation of your tipping machine and extend its lifespan, daily maintenance is crucial. Here are some key maintenance points:
- Regular Cleaning:
- Periodically clean dust, debris, and residual film from inside and outside the machine.
- Pay special attention to cleaning the blade area to prevent film residue buildup, which affects cutting quality.
- Lubrication:
- Follow the machine’s manual to regularly lubricate moving parts.
- Ensure lubricant covers all necessary areas to reduce friction and wear.
- Blade Maintenance:
- Regularly check blade sharpness and replace worn or damaged blades promptly.
- Keep blades clean to prevent film residue adhesion.
- Acetone Management:
- Ensure the acetone container is tightly sealed to prevent evaporation and contamination.
- Safety Checks:
- Regularly inspect the machine’s electrical wiring and safety devices to ensure proper function.
- Always wear safety glasses and gloves when operating the machine.
- Regular component inspection:
- Check for loose screws.
- Check for worn out electrical wires.
- Check for cracks in the machine belts.
Importance of Daily Maintenance:
- Improves machine operating efficiency and stability.
- Extends machine lifespan and reduces repair costs.
- Ensures product quality and reduces defect rates.
- Protects operator safety.
Key points in simple terms:
- Keep the machine clean.
- Add oil to moving parts.
- Change blades when they are dull.
- Keep acetone clean and sealed.
- Check that the machine is safe.
- Check the basic components of the machine.
Conclusion:
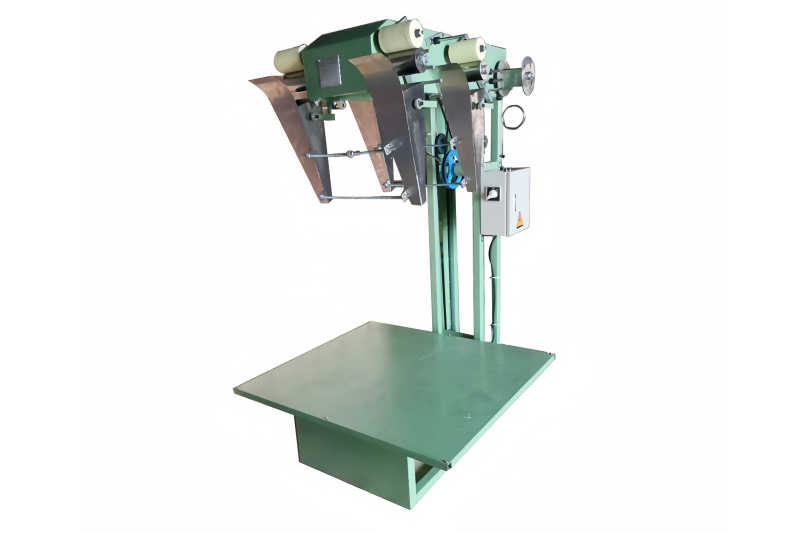
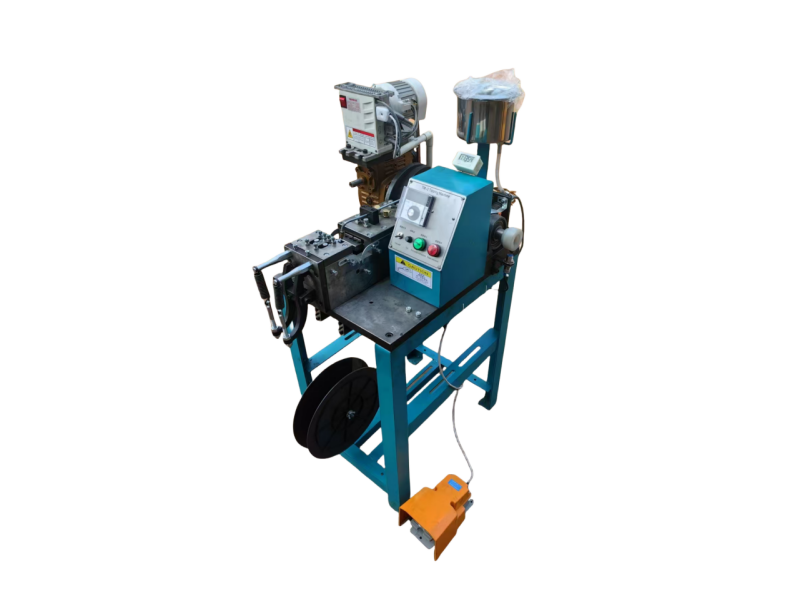
Semi-automatic tipping machines, with their easy operation and convenient maintenance, are a top choice for many startups, small workshops, and places with lower labor costs. Their simple design means basic upkeep like cleaning and oiling is straightforward, reducing maintenance costs and skill requirements. The main part that wears out is the cutting mold, but with proper use, it can last ten years or more.
For businesses just starting out, with limited budgets, or needing to adjust production easily, semi-automatic tipping machines are a practical and cost-effective option. They help improve production, ensure quality, and allow businesses to quickly adapt to market needs and grow steadily.